How to use your Android as a webcam
Want to use your Android phone as a webcam? You're not alone – a lot of professionals and creators are turning to their smartphones for video. The good news is that Camo can easily do it for you, while also giving you tools to improve, frame and perfect your picture. And best of all, it’s free! Let's go through the simple steps to start using your Android phone as a webcam today.
Download and install Camo
Here’s how to set up Camo:
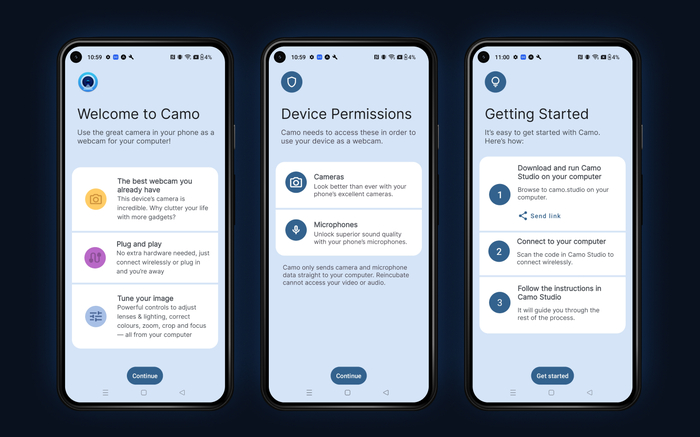
- Get the Camo Camera app for Android from the Play Store. You can find it by simply searching for “camo”.
-
Open the app on your phone and go through the in-app onboarding.
-
Download Camo Studio on your macOS or Windows computer, either by going to https://camo.studio in a browser or by sharing the link from your phone through the
Send linkbutton in the app.
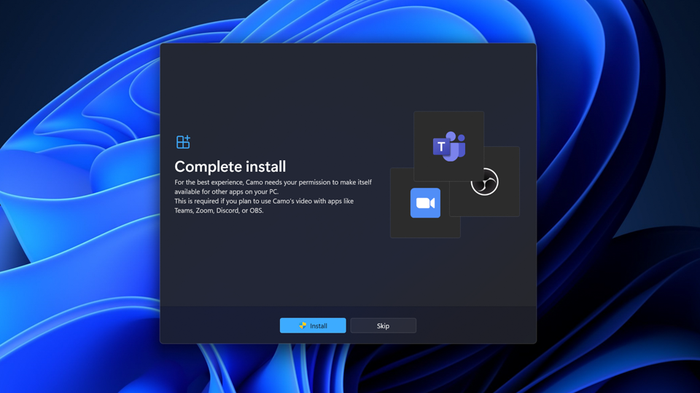
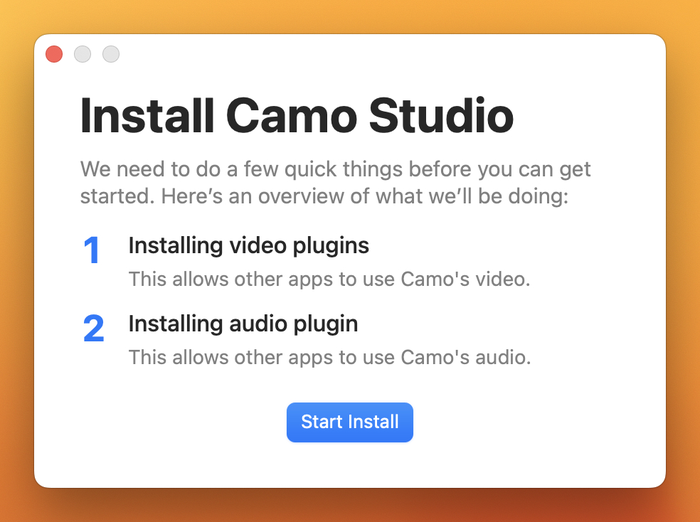
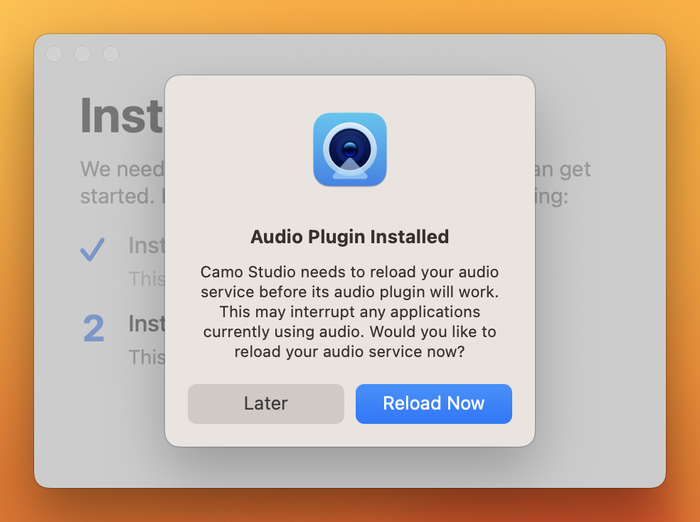
- Install and run Camo Studio on your computer.
On both Windows and Mac, Camo Studio will ask if you want it to automatically check for updates. We recommend that you allow these, as we release updates regularly with new features and improvements.
Connecting your Android device to a Windows PC
You can connect your Android device to a Windows PC with Camo via either Wi-Fi or USB. We recommend the Wi-Fi approach as it is the simplest way to get started.
Connect your Android device to a Windows PC via Wi-Fi
-
On your Windows PC, open Camo Studio and tap the
+button next to theDevicedropdown in the left sidebar. This will open a window with a QR code for pairing your devices. -
In the Camo Camera app on your Android device, tap the wireless connection button in the top right and scan the QR code from Step 1
-
After a few seconds, your devices should connect automatically and video from your device should appear in the preview in Camo Studio
Connect your Android device to a Windows PC via USB
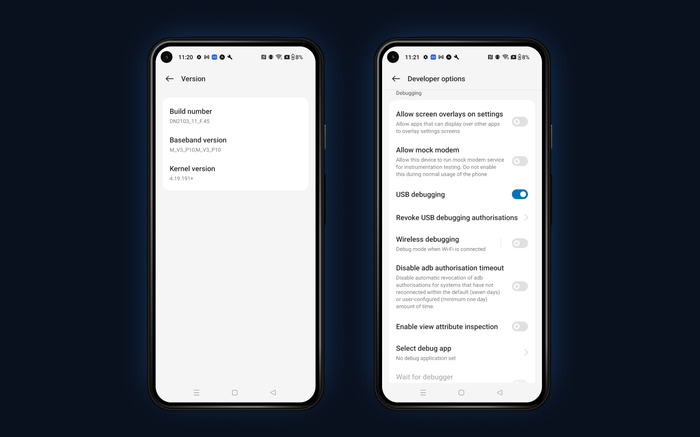
To enable Camo to send data from your device to your computer via USB, the device needs to have USB debugging enabled. The steps to enable USB debugging can vary from one device to another, so you may need to look up the process for your particular make and model. We’ve outlined the process below using a OnePlus Nord 2.
-
Connect your Android device to your computer using a USB cable
-
Go to
Settings, search forBuild Numberand tap it 7 times -
Now, search for
Developer Options, scroll down toUSB debuggingand tick to turn on -
If prompted, select
Always allow from this computerto avoid having to re-enable USB debugging every time you connect the device to your computer
- In Camo Studio, select your device in the
Devicesdropdown in the left sidebar.
If you need help turning on USB debugging for your Android device, just contact us and we'll walk you through the process for your specific phone.
Connecting your Android device to a Mac
As with Windows, you can connect your Android device to a Mac via either Wi-Fi or USB. For the best experience, we recommend connecting through USB to get started.
Note that if you’ve previously enabled USB debugging on your device, you’ll need to turn the setting off to connect it to your Mac.
Connect your Android device to a Mac via USB
-
Open Camo on your Android device
-
Connect the device to your Mac using a USB cable
-
Select the device in the
Devicedropdown in the left sidebar, and video from your device should appear in the preview in Camo Studio
Connect your Android device to a Mac via Wi-Fi
-
On your Mac, open Camo Studio and select
Pair a device...from theDevicesdropdown in the left sidebar -
In the Camo Camera app on your Android device, tap the wireless connection button in the top right and scan the QR code from Step 1
-
After a few seconds, your devices should connect automatically and video from your device should appear in the preview in Camo Studio
Using Camo as a webcam
Now that Camo is set up, you can use all the tools available in the app to adjust your image, perfect your framing, and much more. And when you’re ready, why not record a short clip to check that all your settings and devices are exactly like you want them? You can do so by hitting the record button in the top right of Camo Studio.
If you’re looking to use Camo for your work meetings and presentations, simply open your video conferencing app of choice and select Camo Camera in its video settings. You can also select Camo as an audio source, either to use the microphone on your Android device as an input or to let the app help keep your audio and video in sync.
Camo is compatible with all video conferencing apps. Once Camo Studio is installed and running on your computer, you don’t need to do anything more to use it with other apps.
Similarly, if you’re looking to start streaming using your Android phone as a camera – say as the source for your selfie video – then simply select Camo Camera as the device for a video capture source in your broadcast software, like OBS or Streamlabs.
If you want to go deeper, we have additional guides and articles that cover:
- Getting the perfect mount for your setup
- Helping you look great on calls
- How to make the most of your lighting
Once you’ve settled on the best setup for your needs using Camo, and you’re looking to start creating professional quality content, it might be time to check out Camo Pro. It will allow you to take full advantage of your device, unlocking higher resolutions for recording, meeting, and streaming.
