Getting started with Camo Studio for iPad
Preparing your iPad
Camo Studio for iPad requires iPadOS 17, and is compatible with the following devices:
- iPad Pro 13-inch (M4)
- iPad Pro 12.9-inch (2nd generation and later)
- iPad Pro 11-inch (1st generation and later)
- iPad Pro 10.5-inch
- iPad Air 13-inch (M2)
- iPad Air 11-inch (M2)
- iPad Air (4th generation and later)
- iPad (9th generation and later)
- iPad mini (6th generation and later)
Note that though earlier generations of the iPad Air, iPad, and iPad mini do support iPadOS 17, they do not support the use of more than one video source at a time due to hardware limitations of the device. Therefore, Camo Studio for iPad will not function on these devices.
Getting Camo Studio
To get Camo Studio on your iPad, simply open the App Store app and search “Camo Studio”. Make sure you select Camo Studio, the one with the violet icon, and not Camo, the app used to connect your iPad’s cameras to your Mac or PC.
When launching Camo Studio for the first time, you’ll see a welcome screen, followed by a few quick steps to help you get the app set up.
The app will ask for the following permissions to function properly: - Access to your Photo Library for saving recordings and importing media assets for use in scenes - Access to cameras on your device for use as video input feeds - Access to the microphone on your device for use as an audio input feed - Access to the network for connecting to streaming platforms and our services
Finally, you can set initial values for scene layouts – which will automatically add your name to certain scene elements like overlay titles. This step is optional, and you can update these at any time in the app settings.
The Camo Studio interface
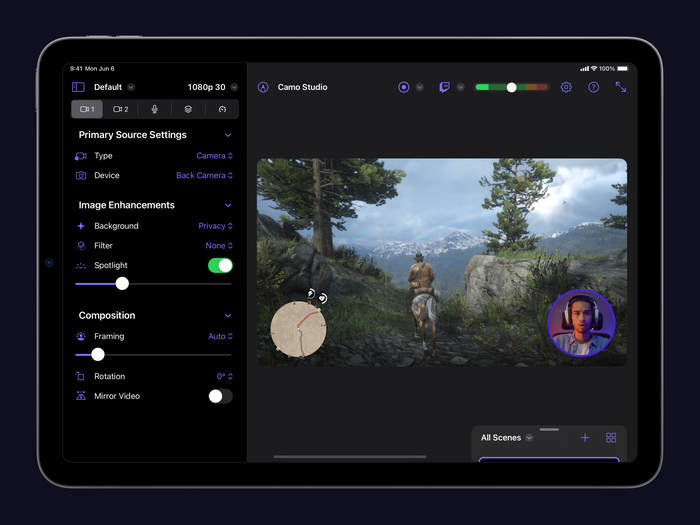
Welcome to Camo Studio for iPad! You’ll notice the current screen settings first, located on the left side of the screen. This is where you can configure the video and audio inputs for a scene, as well as select background imagery and manage your stream panels. For now, you can dismiss this sidebar by tapping the empty space to its right – you can always open it again via the button in the top left corner of the interface.

Making your first recording
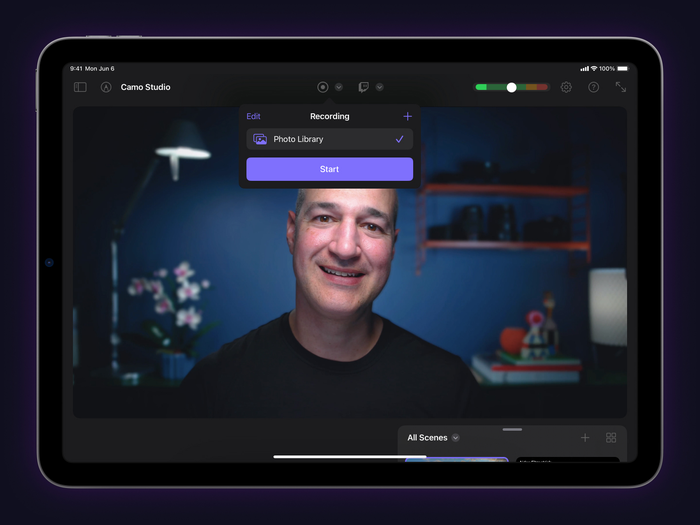
For this initial run through Camo Studio for iPad, let’s create a quick recording. Select or build a scene layout that you like and when you’re ready, simply press the record button at the top of the screen. Choose where the recording will be saved, and tap “Start recording.” It’s that simple.

Connecting other devices
Thanks to its cameras and microphone, there’s already quite a lot that you can do with just your iPad, but adding more devices to the mix will take the Camo experience to a different level. Here are a few ideas for how you can use build out your iPad setup and use Camo Studio to turn it into a powerful production hub:
Connect via Wi-Fi to one or even two mobile devices running Camo Camera to Camo Studio on your iPad, and use their powerful cameras to capture video from wherever you position them. The app for iPhones can be downloaded from the App Store, and for Android from Google Play.
-
Using a capture card, connect a console to your iPad and stream gaming footage, with an overlaid selfie video, straight to your favourite streaming service. Mount and connect a DSLR or mirrorless camera and use your iPad as a recording studio, compose your shot using Camo Studio’s precision framing controls and adjustments, and then record in a couple of taps, or start a live stream.
-
Use your iPad as a portable monitor for your mobile consoles, or even when you simply need a handy device to plug an HDMI feed into.
We offer recommendations on connecting devices to your iPad, as well reviews of the tech you’ll need or find useful, from capture cards to USB hubs to mounts and cages.
