Getting started with Camo Studio for Apple Vision
Getting Camo Studio for Apple Vision
To get Camo Studio on your Vision headset, simply open the App Store within your environment, and search for “Camo”. You will see two Camo apps: the one with the purple icon is Camo Studio. The one with the blue icon is Camo Camera, which enables you to pair your Vision as a camera with Camo Studio on your Mac, PC or iPad.
When launching Camo Studio for the first time, you’ll see a welcome screen, followed by a few quick steps to help you get the app set up.
The app will ask for the following permissions to function properly:
- Access to your Photo Library for saving recordings and importing media assets for use in scenes
- Access to cameras on your device for use as video input feeds
- Access to the microphone on your device for use as an audio input feed
- Access to the network for connecting to streaming platforms and our services
Finally, you can set initial values for scene layouts – which will automatically add your name to certain scene elements like overlay titles. This step is optional, and you can update these at any time in the app settings.
The Camo Studio interface
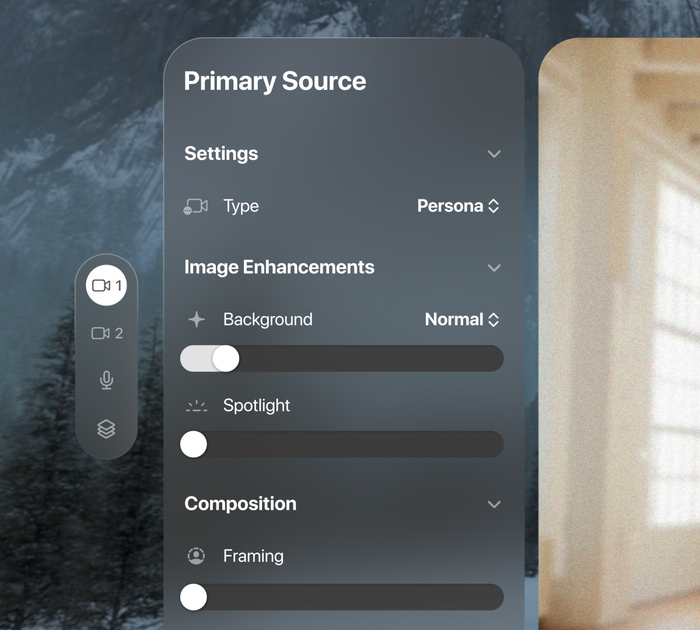
Welcome to Camo Studio for Apple Vision! The main screen you see is what your feed will look like, and the bar underneath contains a number of controls that enable such essentials as setting your resolution and frame rate, accessing stream panels, and monitoring sound. Pinching the circles on either end of the lower control bar will open the side panels, which contain additional controls. You can specify and refine your video sources, microphone and layers on the left, and manage your collection of scene templates on the right.

Making your first recording
For this initial run through Camo Studio for Apple Vision, let’s create a quick recording. Select or build a scene layout that you like and when you’re ready, simply press the record button in the lower control bar. Choose where the recording will be saved, and tap “Start recording.” It’s that simple.
Connecting other devices
Using just your Persona, your Vision view and the headset's excellent microphone, there’s already quite a lot that you can do with Camo Studio. For more creative possibilities, you can connect to external devices and use their video in your scenes, or use the Vision headset itself as an external camera. Here are a few ideas for how you can use build out your Vision setup:
- Connect Camo Studio on Apple Vision via Wi-Fi to an iOS or Android device running Camo Camera, and use its camera to combine the physical world with the virtual in your scene. The app for iPhones can be downloaded from the App Store, and for Android from Google Play.
- Connect Camo Studio on Apple Vision via Wi-Fi to a second Vision headset running Camo Camera, and introduce an additional Persona into your scene.
- Connect Camo Studio on your Mac, PC or iPad to the Camo companion app on your Vision, refine and enhance it with background effects, filters, framing, and other controls, and then use it for recordings or video meetings on any platform. If you simply mirror your Mac's screen in the Vision environment, this can all be done within the headset.